Introduction
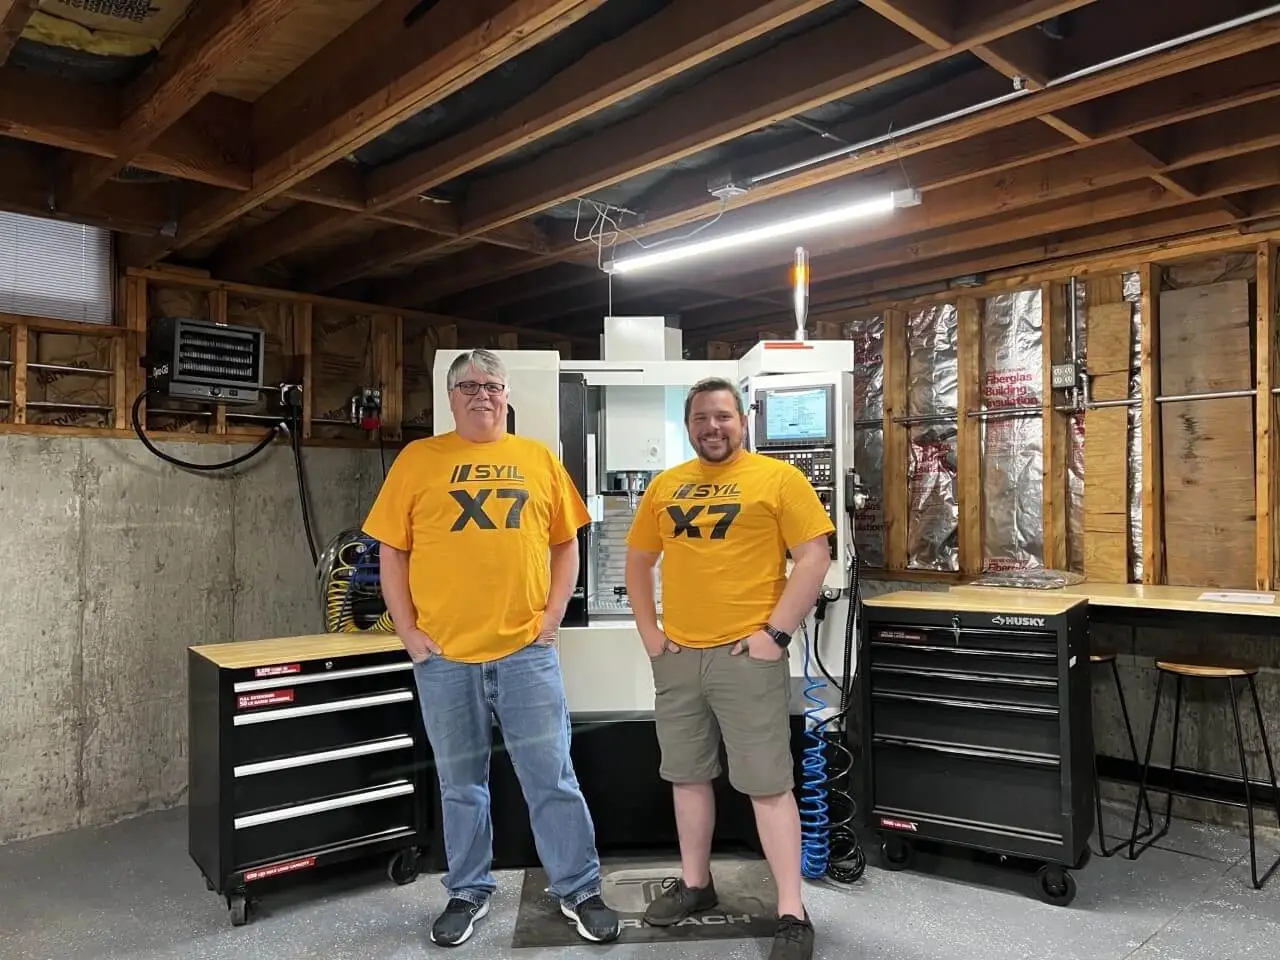
In today's fast-paced tech landscape, the ability to create your own printed circuit boards (PCBs) can set you apart from the crowd. Whether you're a hobbyist or a professional, crafting your own PCBs opens up a world of possibilities for innovation and customization. The rise of PCB CNC technology has made this process more accessible than ever, allowing anyone with the right tools to bring their electronic ideas to life.
Why Create Your Own PCBs
Creating your own PCBs allows for unparalleled flexibility in design and functionality. Instead of relying on off-the-shelf solutions that may not meet your specific needs, you can tailor every aspect of your board to suit your project perfectly. This level of customization not only enhances performance but also fosters a deeper understanding of electronics and circuit design.
The Appeal of PCB CNC Milling
PCB CNC milling offers an exciting way to fabricate high-quality PCBs with precision and speed. Unlike traditional methods, which often require chemical etching or outsourcing production, CNC milling allows you to produce prototypes right in your workshop or home lab. With a DIY CNC PCB drilling machine at your disposal, you can quickly iterate designs—perfect for rapid prototyping where time is critical.
Overview of Desktop CNC Options
When it comes to selecting the best desktop CNC for PCB creation, there are several options available that cater to different budgets and needs. From entry-level machines that offer basic functionality at an affordable PCB CNC machine price to advanced systems capable of intricate designs, there's something for everyone. Understanding the features and capabilities of each option will help you make an informed decision tailored to your specific requirements.
Understanding PCB CNC Technology
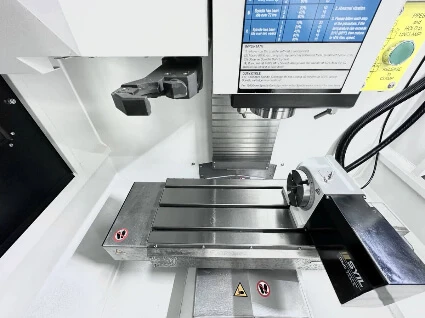
In the world of electronics, understanding PCB CNC technology is crucial for anyone looking to create their own printed circuit boards. This section will delve into the essentials of PCB design, introduce you to the fascinating realm of CNC milling, and highlight the benefits of DIY PCB fabrication. By grasping these concepts, you'll be better equipped to embark on your journey in PCB creation.
Basics of PCB Design
PCB design is the backbone of any electronic project, serving as the blueprint for how components are connected and interact with each other. At its core, a well-designed PC board ensures that electrical signals flow efficiently and without interference. By using specialized software tools like Eagle or KiCad, you can create intricate designs that will be milled using a CNC machine.
When designing your PCB, it's essential to consider factors such as trace width, spacing between components, and overall layout efficiency. These elements play a significant role in determining how well your board will perform once fabricated through processes like PCB milling. A solid understanding of these basics will set you up for success when utilizing a DIY CNC PCB drilling machine.
Introduction to CNC Milling
CNC milling is a subtractive manufacturing process that allows you to carve out precise shapes from various materials using computer-controlled machinery. In the context of PCBs, this means removing copper from a substrate material—usually fiberglass or epoxy—to create conductive pathways for electrical signals. The advent of affordable desktop CNC options has made it easier than ever for hobbyists and professionals alike to explore this technology.
With a dedicated CNC PCB milling machine at your disposal, you'll find that creating custom circuit boards becomes not only feasible but also enjoyable! These machines can handle everything from simple designs to complex multi-layer boards with ease and precision. As you get familiar with the capabilities of your equipment, you'll discover just how versatile it can be in bringing your electronic visions to life.
Benefits of DIY PCB Fabrication
One major advantage of DIY PCB fabrication using a PC Board CNC Milling Prototyping System is cost savings compared to outsourcing production runs—especially if you're working on small batches or prototypes. You have full control over every aspect of your design process; from tweaking layouts on-the-fly to experimenting with different materials without waiting weeks for external manufacturers’ turnaround times.
Additionally, fabricating PCBs yourself fosters creativity and innovation since you're not limited by pre-made designs or standard offerings from suppliers. You can tailor each project precisely according to your specifications while honing valuable skills along the way—talk about killing two birds with one stone! Lastly, having access to tools like a best desktop CNC for PCB opens up opportunities for rapid prototyping which accelerates product development cycles significantly.
Choosing the Right CNC Machine
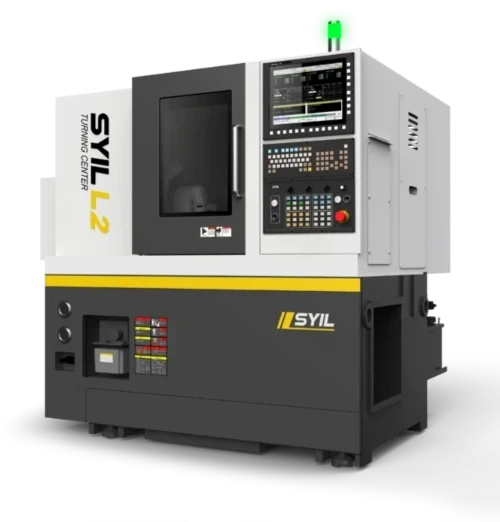
Selecting the right CNC machine for PCB milling is crucial for achieving high-quality results in your DIY projects. With a variety of options available, understanding the features and capabilities that best suit your needs can significantly impact your PCB fabrication process. Let's dive into what to look for when choosing the perfect PCB CNC machine.
Features to Look for in a PCB CNC Machine
When searching for a suitable PCB CNC machine, consider its precision and accuracy as top priorities. A good PC Board CNC Milling Prototyping System should offer high resolution, ideally with a spindle speed that allows you to work with fine traces and small components without compromising quality. Additionally, look for machines with user-friendly software integration, which simplifies design uploads and enhances overall workflow efficiency.
Another essential feature is the machine's build quality; sturdier machines tend to produce more consistent results during PCB milling operations. Pay attention to the size of the work area too—ensure it accommodates your typical board dimensions comfortably. Lastly, consider whether you need a DIY CNC PCB drilling machine with multi-function capabilities, allowing you to not only mill but also drill and engrave on various materials.
Comparing PCB CNC Machine Prices
The price range for PCB CNC machines can vary significantly based on features and brand reputation. Budget-friendly options may be tempting but remember that investing in quality often pays off in durability and performance over time. While some entry-level models might start around $500, high-end machines can exceed several thousand dollars depending on their capabilities.
It's essential to compare not only prices but also what each model offers regarding support and warranty services; sometimes spending a bit more ensures peace of mind with customer service down the line. Additionally, consider potential hidden costs like software licenses or replacement parts when evaluating total expenses associated with owning a CNC milling setup for PCBs.
The SYIL CNC Machine: A Top Choice
Amongst various options available in the market today, the SYIL CNC machine stands out as an exceptional choice for enthusiasts looking into serious DIY PCB milling projects. Known for its robust construction and precision engineering, this machine excels at producing intricate designs while maintaining excellent accuracy during operation—ideal traits when working on complex PCBs.
The SYIL model also comes equipped with user-friendly software that integrates seamlessly into your design process, making it easier than ever to transition from concept to prototype without hassle. While it may come at a higher price point compared to other models on the market—often categorized under premium pricing—the value offered through reliability and performance makes it one of the best desktop CNCs for PCB fabrication.
Essential Tools and Materials
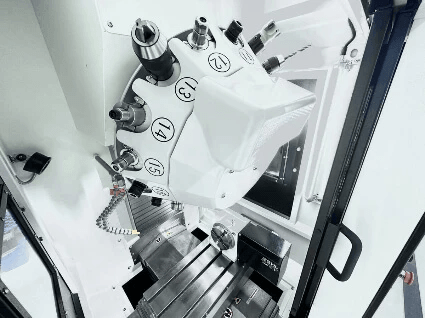
Creating your own PCBs using a PCB CNC machine requires the right tools and materials to ensure a smooth and successful prototyping experience. From software that helps you design your circuit layouts to the physical components needed for milling, having the right essentials can make all the difference. Here’s what you need to get started on your PCB milling journey.
Recommended Software for PCB Design
Choosing the right software is crucial for effective PCB design, especially when using a CNC PCB milling machine. Popular options include Eagle, KiCad, and Altium Designer; each offers unique features tailored to different skill levels and project requirements. Whether you’re crafting intricate designs or simple circuits, these programs provide intuitive interfaces that streamline the process of preparing files for your DIY CNC PCB drilling machine.
When selecting software, consider its compatibility with your CNC machine and its ability to export files in formats suitable for milling. Many of these programs also offer libraries of components to speed up your design process while ensuring accuracy in dimensions and placements. Investing time in learning how to use these tools effectively can significantly enhance your PCB CNC experience.
Materials Needed for PCB Milling
The materials required for effective PCB milling are just as important as the software you choose. You'll need copper-clad boards, which serve as the base material where you'll etch your circuit designs; these are typically available in various thicknesses depending on your project needs. Additionally, having high-quality drill bits specifically designed for PCBs will help achieve clean cuts without damaging the board.
For those involved in more complex projects, consider using solder mask and silkscreen materials that can be applied after milling to protect traces and add labels or logos on your boards. Don’t forget about clamping systems or double-sided tape; securing the board during milling is essential for precision! The right combination of materials will ensure that every run through your best desktop CNC for PCB yields professional results.
Safety Equipment for CNC Operation
Safety should never take a back seat when operating a CNC machine—especially one designed for tasks like PCB milling! Proper safety equipment includes goggles or face shields to protect against flying debris generated during cutting processes; this is not just a suggestion but an absolute necessity! Additionally, wearing gloves can help prevent injuries from sharp edges on cut boards or tools.
Step-by-Step PCB Milling Process
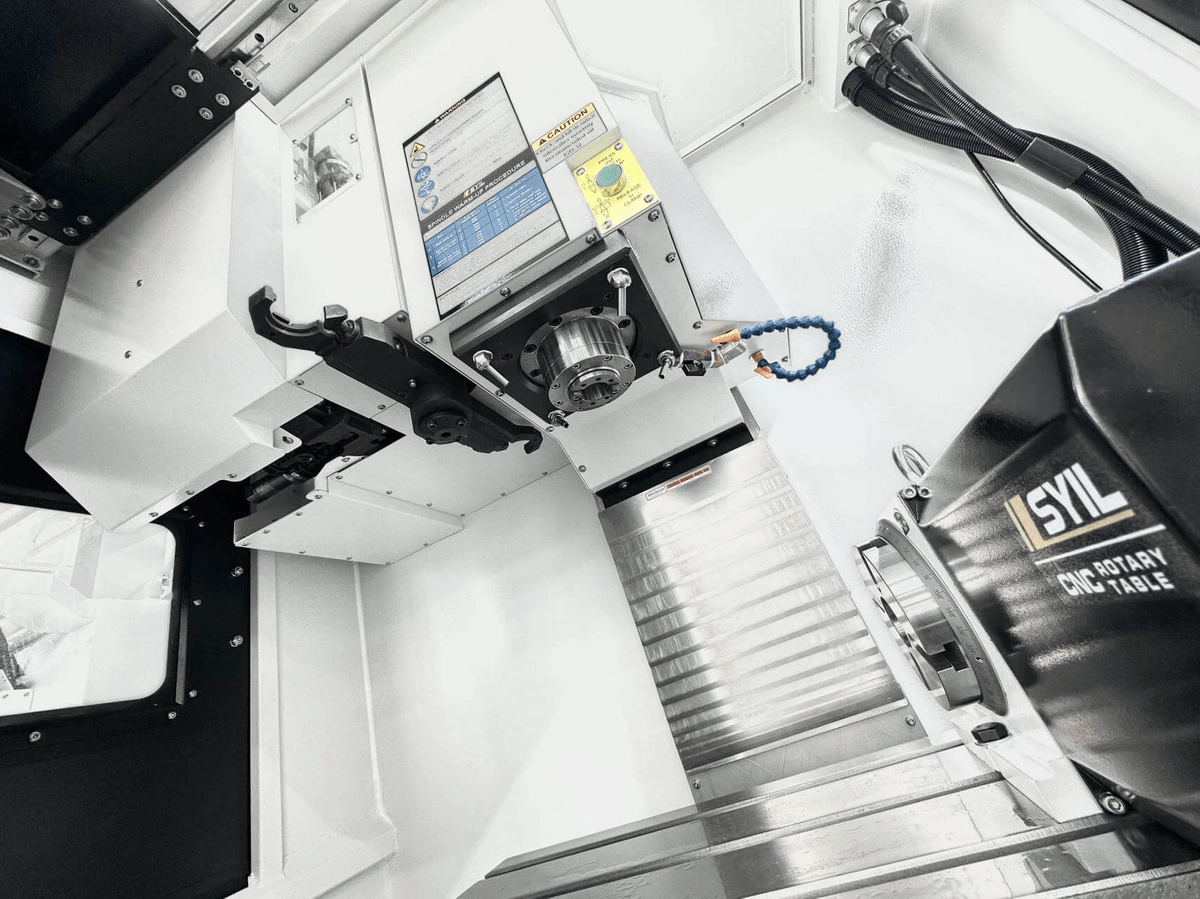
Creating your own PCBs can be a rewarding venture, but it requires a systematic approach to ensure quality results. By following this step-by-step guide, you’ll navigate the intricacies of PCB milling with confidence. Let’s dive into the essential phases of the process.
Preparing Your Design for CNC
Before you fire up your CNC PCB milling machine, it’s crucial to prepare your design meticulously. Start by using reliable PCB design software that allows you to create layouts compatible with CNC milling requirements. Make sure to export your design files in appropriate formats such as Gerber or DXF, as these are commonly used in the PCB CNC world.
Once your files are ready, double-check all dimensions and component placements; precision is key in PCB fabrication! You may also want to run a simulation within your software to visualize how your design will translate into physical form on the PC Board CNC Milling Prototyping System. This step not only saves time but also reduces costly mistakes during milling.
Setting Up Your PCB CNC Machine
With your design in hand, it's time to set up your DIY CNC pcb drilling machine for action. Begin by securing the material you’ll be milling onto the machine bed; ensure it’s flat and stable to prevent any movement during operation. Next, install the appropriate milling bit based on the thickness and type of copper-clad board you're using—this choice significantly impacts the quality of your final product.
Once everything is secured and aligned, load your prepared design file into the machine’s software interface. Be sure to configure settings such as feed rate and spindle speed according to recommendations for both material type and bit size; these parameters can vary widely among different models of PCB CNC machines available on the market today! Finally, perform a dry run without cutting anything just yet—this allows you to confirm that everything moves smoothly before committing.
Executing the Milling Process
Now comes one of the most thrilling parts: executing the actual milling process! Hit that start button on your CNC machine and watch as it transforms raw material into a functional printed circuit board right before your eyes! Keep an eye on progress while staying alert for any unusual sounds or movements since early detection can save you from potential disasters.
As you observe this magical transformation unfold, remember that patience is vital; rushing through may lead to errors or damaged boards—a costly mistake when considering PCB CNC machine prices! Once completed, allow some cooling time before removing your freshly milled board from its workspace; this ensures any residual heat dissipates properly without warping delicate traces or components.
In conclusion, mastering these steps will empower you not only in creating high-quality PCBs but also in understanding how each phase contributes towards achieving professional-grade results with minimal hassle!
Troubleshooting Common Issues
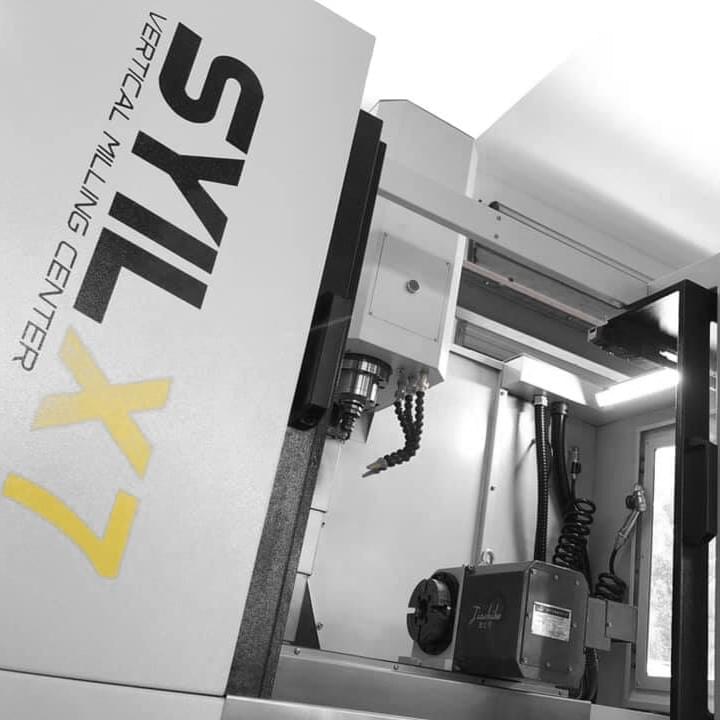
Even the most seasoned DIY enthusiasts encounter hiccups when working with PCB milling. Understanding common problems can save you time and frustration, allowing you to focus on creating your next masterpiece. Let’s dive into some typical issues that arise during PCB CNC milling and how to tackle them.
Common Problems in PCB Milling
One of the most prevalent issues in PCB milling is misalignment during the setup phase, which can lead to inaccurate cuts and ruined boards. Additionally, feed rate settings that are too high can cause excessive wear on your tools or even break bits, resulting in delays and additional costs associated with replacing parts of your PC Board CNC Milling Prototyping System. Lastly, inadequate dust collection can lead to a messy workspace and reduced visibility, making it harder to monitor the quality of your work.
How to Fix Drilling Errors
Drilling errors often occur due to incorrect bit sizes or miscalibrated depth settings on your CNC PCB milling machine. To fix these errors, ensure you are using the correct drill bits for your specific board layout; this is crucial for achieving precise holes for components. If you've already drilled incorrectly, consider using a larger pad size in future designs or filling holes with conductive epoxy as a workaround.
Maintaining Your CNC Equipment
Regular maintenance is key to keeping your DIY CNC PCB drilling machine running smoothly and effectively over time. Clean the machine after each use by removing debris from both the work area and internal components; this will help prevent dust buildup that could impede performance. Additionally, regularly check for wear on cutting tools and replace them as necessary; investing in high-quality bits can significantly extend their lifespan while ensuring optimal results from your PCB milling projects.
Conclusion
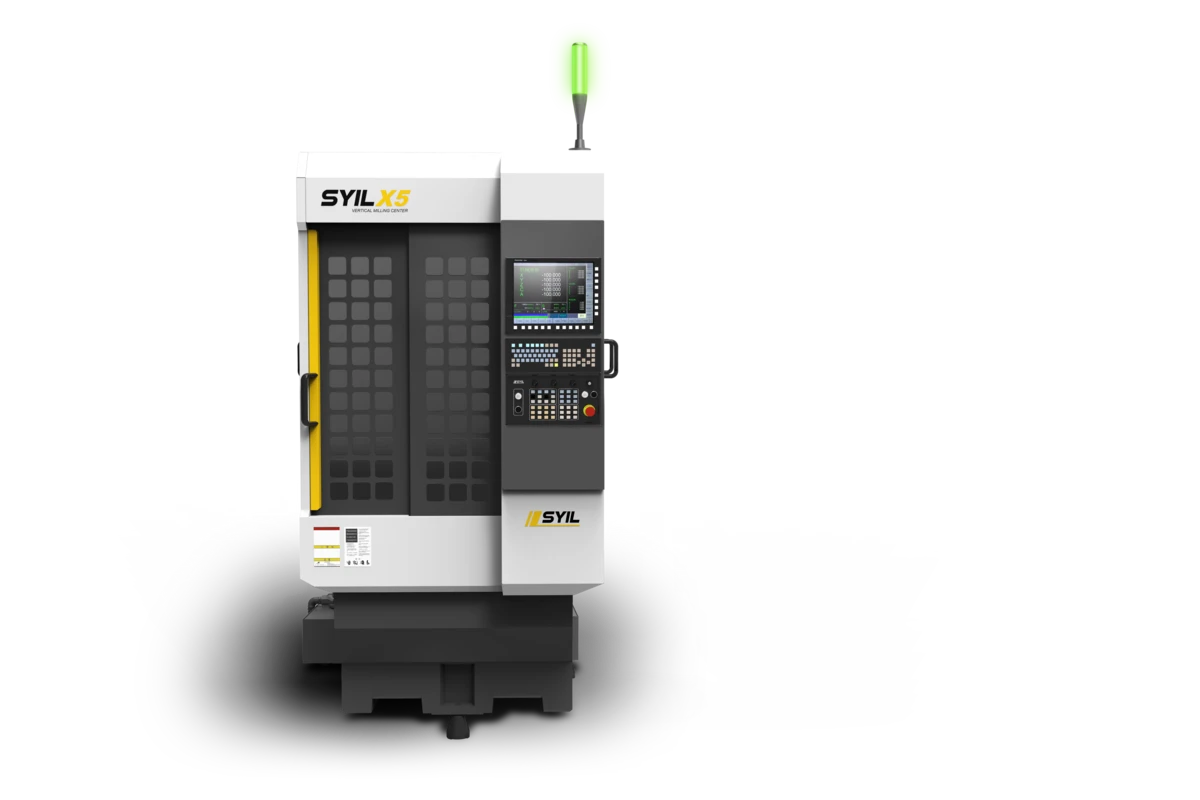
In the world of electronics, creating your own PCBs can be a game-changer. The DIY PCB creation process not only saves costs but also allows for personalization and innovation in projects. With advancements in technology, the accessibility of PCB CNC machines has transformed prototyping into an exciting hobby or a professional endeavor.
Benefits of DIY PCB Creation
One of the standout benefits of DIY PCB creation is the ability to bring your ideas to life without waiting for external manufacturers. Using a PC Board CNC Milling Prototyping System, you can produce high-quality boards tailored specifically to your needs, reducing lead times significantly. Additionally, engaging in this hands-on process fosters a deeper understanding of electronics and design principles that is invaluable for both beginners and seasoned professionals.
Tips for Successful PCB Projects
To ensure successful PCB projects, meticulous planning is crucial; start with solid designs using recommended software that complements your CNC setup. When selecting tools and materials, consider investing in a reliable CNC PCB milling machine that fits within your budget while meeting your project requirements—researching various options will help you find the best desktop CNC for PCB work available today. Lastly, don't underestimate the importance of patience; troubleshooting issues as they arise will not only improve your skills but also enhance the final quality of your boards.
Future Trends in PCB CNC Technology
The future of PCB CNC technology looks promising with ongoing innovations aimed at making DIY fabrication even more accessible and efficient. As prices for high-quality machines like the SYIL continue to drop, more enthusiasts and professionals alike will be able to explore advanced techniques such as multi-layer PCBs or intricate designs previously reserved for industrial processes. Furthermore, trends such as automation and integration with AI are set to revolutionize how we approach PCB milling—making it an exciting time to dive into this field.

